On Monday, I continued with my robot character. The focus was to start over with the hand, I did not like the design of the first hand that I produced so I decided to start it over using the same method as before which is using the Z modeler brush.
Here is the robot hand created using the Z modeler method. I like to use this method as it gives the model a hard surface appearance which is what I want with this model. I still need to edit the hand and add finer details at a later date, but this is the shape that I am going for. I will soften the edges slightly by using dynamic subdivision. This gives the model a smoother look and it can be edited the way you like it.
Here is the arm and hand attached to the rest of the robot body. Both arm and hand still need detailing. I tend to add more open wires and tubes to the arm. I also downloaded some free insert brushes to help with the detailing and to help with more of the complex shapes I will struggle to achieve without some help or guidance.
Website where I downloaded the free insert brushes: http://www.badking.com.au/site/products/
On Tuesday, I went into University to do some of my work. I decided to start the second arm. I wanted the second arm to be a replacement arm, as the original was damaged through battle. When it comes to texturing the arm I aim to make it a different colour and material than its original.
As the theme of the robot is dystopian and steam punk like, I wanted to go for a hand that represents more of a open mechanical skeleton hand similar to the images above. It shows the hand has not got protective armour surrounding it. It may not be as detailed as the ones above but this is where I would like to go with it.
This is a rough try out. I decided to give the arm ago by inserting a arm insert brush and I used the clay build up brush to mold on top of it to add in the details. At the moment it looks like this is the method I will go for to achieve this effect.
Also while I was in university on Tuesday I spoke to one of my tutors about my project so far and showed them what I have created so far. They did like the character and were impressed with how I achieved the hard surface method in Z brush without going into Maya first. I spoke to them about the texturing stage as I am worried I will come into problems through lack of confidence with knowledge on how to set up a character for the texturing stage. I am focusing on getting the model completed first with all details before I start to think about the texturing stage. I am trying to keep my model as low as I can in poly count.
On Wednesday, I continued with the second arm and started to add to the bottom of the model.
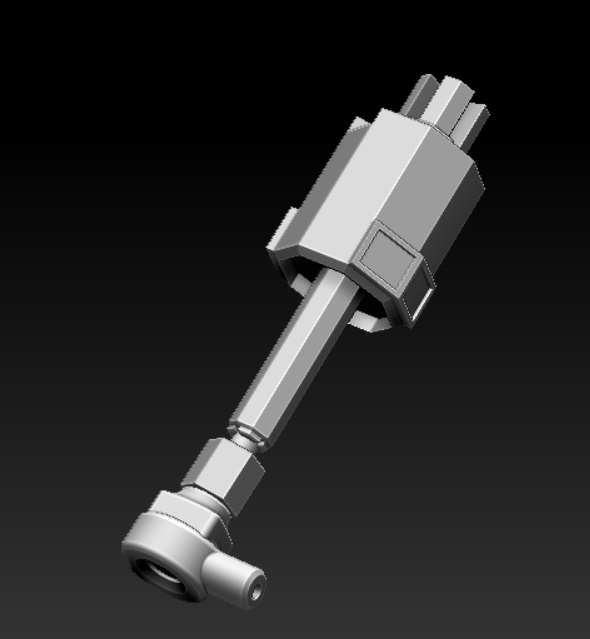
When starting the arm I used the same method as before with the first arm. I knew I wanted this arm less detailed and wanted it to consist more of rods to form the shape. I did use an insert brush for the joint in this arm.
I still need to add the second hand, and add tubing to parts as this is a open arm.
This is the start of the lower body area. I inserted a sphere then used Dyna mesh and Zremesher to edit the topology of the mesh so it was more manageable to edit. I used the move tool to set the shape and used the high polish brush to gain the sharper edge. This area will still need to be modded but this is the basic shape so far.
I also added a pole base that supports and connects the torso to the bottom. This was done but bringing in a cylindrical shape and editing it but using the Z modeler method.
On Thursday, I continued with the bottom half of the robot. I was going to use the group panel method same to how I created the head and areas of the torso, but it did not end up as planned. I decided to leave the bottom area as a single poly group and keep it whole.
I changed the shape of the area slightly and added a panel to the front. To do this I masked an area and used the extract method and used the polish settings in the deformation tab.
On Friday, I started to create one of the legs. The legs will be duplicated after completion. When starting the legs it was first trial and error but the more I continued the ideas flowed.
I used a insert brush for the joints I did try to create my own using the Z modeler method but I did not like the results. By using the insert brush above I think it gives the model a more crisp appearance. I also duplicated the top area of the arm to create the top half of the leg to match the style of the model throughout, I decided to not keep it and decided to create another of my own using the Z modeler method trying to keep to the same style as the arm.
The top half of the leg is not yet completed but I will continue this area next week. I aim to get this model near completion by the end of next week. Next week I am off to London to attend the Vertex show so I will have two days off working from my model but I aim to catch up mid next week.


 When starting the arm I used the same method as before with the first arm. I knew I wanted this arm less detailed and wanted it to consist more of rods to form the shape. I did use an insert brush for the joint in this arm.


No comments:
Post a Comment