Showing posts with label BA1b. Show all posts

Wednesday, 20 April 2016

My final Evaulation: BA1b.


During this project I have learnt a lot throughout the 3D sessions. Some of my 3d models didn't go to plan but I learnt from my mistakes.With the knowledge that I have gained throughout the last few months I will continue to use Maya and the others program's that I have used and will use them in my own time as I hope to progress my 3d skills. I was quite surprise to learn that I would enjoy the 3d tasks that we were given as I had used 3ds max in the past and couldn't figure out 3d at all, maybe this has changed because of the environment I am now in and the good tutoring I have received. I believe I can see an improvement in each task from the lamp to the final project, the time machine. With task one (The lamp) at the time I found it very different and difficult to use Maya to create the lamp but after the first session being shown how to create one I started to use the programme in my own time in which made me more confident. Task 2 was the barrel in which I had to use Photoshop to create a hand painted texture, this was great to learn but I would really enjoy working with realistic looking textures next time. Personally the barrel and lamp are my least liked models from this project, I think this might be because I have improved from then and find the models in themselves a little unadventurous. Task 3 was the vintage telephone, this was the project that I enjoyed making the most, and I find it is one of my stronger pieces and one that I am most proud of because I believe this was the task were I came out my shell a little with 3d modelling. Task 4 was the pillar. I had a few problems with this after the Z brush stage and when I started to UV map and using x normal to bake the model. I found this lowered my confidence in 3d after this task was finally completed, even though I did have problems I have now gain knowledge from these set backs. During the end of task 4 UE4 was used. When I look back I wish I had used UE4 to my advantages and made a scene for my pillar, but I worried I wouldn't have enough time because of the set back that I already had with my pillar. In the future I will use UE4 to gain more knowledge of the engine and it's features.. The last and final task was the time machine. I believe this was the task were I learnt the most from as the whole task included all of the processes that I had learnt in the previous tasks, but with task 5 I had to go through all the stages again and more. The processes that was new to me was the different texture maps that was needed to stylize my model to it's final look. I have never created some of these maps before so this was new to me. The time machine model itself was fairly low in poly count but I wanted to bring out the model through the different maps, I believe I achieved this. In the contextual studies lectures I did learn lot from them and enjoyed the guest appearance lectures, but the presentation did that I and my group had to present brought bring me out of my comfort zone. I believe doing this has helped me with my confidence in speaking in front of others and working in a group. 

Overall with the 3d models I am happy and proud that I can now produce assets in Maya, I would like to grow this skill and become a lot better using Maya and Z brush and will attempt this in my free time. Looking back I wish I had developed more bold models especially which my pillar, but saying that I do believe I have learnt a lot and have for the first time created my own 3d asset. With these new skills I can only get better and build my confidence with 3d.


Tuesday, 19 April 2016

Time Machine, Final


Here is my time machine rendered and completed in Marmoset, (With the maps I used below too). I have had some issues with this model and not all of them I could fix, but they haven't had to much of an impact on my model shown below. This has to be one of my favourite pieces of work that I have produced in 3D so far. I went with a glossy effect to my model as I thought it would link well with the sci-fi theme that I was going for. At first I wanted it in a plain white colour but I thought it looked a little dull and would be fairly hard to notice any differences in the model while using other maps. I really liked emissive map which has given my time machine a glow in some areas which I was hoping for, I'm very pleased with the look of this map. The roughness map is another map that I thought would give an added feature to my model. As you can see I have used it to add a little detail to the stage part of my model and the base. I added what looks like water marks and foot prints. I feel adding this it gives the model a little interactivity as it shows that someone has used the time machine and returned from the past or future while they have been wet maybe from rain in the other time dimension.. If this was a real time machine in a game asset this is how it would work: The character would place the information of what date they would like to go to on the computer that is connected to the base. When the character has filled in the information on the computer the bottom of the base will start to glow as will the other lit areas of the time machine. Then the ring that is connected to the leg will lower surrounding the character and then transporting the character to where it was the character wanted to go. When they are in the other time dimension when they step of the base the two upright pieces on each of the two front corners of the stage will shoot light rays at the character when they walk through them, this is a device that clears away any harmful bacteria from the character so they don't effect the past or future. Overall I am happy with my final outcome and will be using Marmoset in the future with my 3D renders, and applying maps. 


Metallic map.


Roughness map.


My first base colour map in white.


My current base colour map, Grey. It looks messy but it worked well, as I was only doing one base colour for my model I could make it this way as this stopped the joined edges from the UV's being shown on my model which was showing white in areas.


Emissive map. 

Friday, 15 April 2016

Time machine issue

I have been having some problems lately with my time machine, when I place the model into Marmoset, everything but one looks fine. The one that is the problem is the leg without the ring. This leg when I bake it looks fine in X normal but when I go to apply the normal map it does not bake well to the model. I spent two days trying to correct this issue with my model and in end I decided to not to use piece unfortunately. I couldn't afford to waste anymore time. There are some small baking issue on my model that I have tried to resolve with making new cages, UV's etc...but I couldn't seem to get it to a prefect state. Saying that so far with some of it's maps already applied it already it doesn't look to bad. Below is  two images with the baking problem. It is a shame that I have had this problem I would of liked to of had all of the model included, but I gave it ago and next time I will learn from this experience.

                                          Both images look like they have a similar issue.

Tuesday, 12 April 2016

Time Machine UV Mapping and Bakes


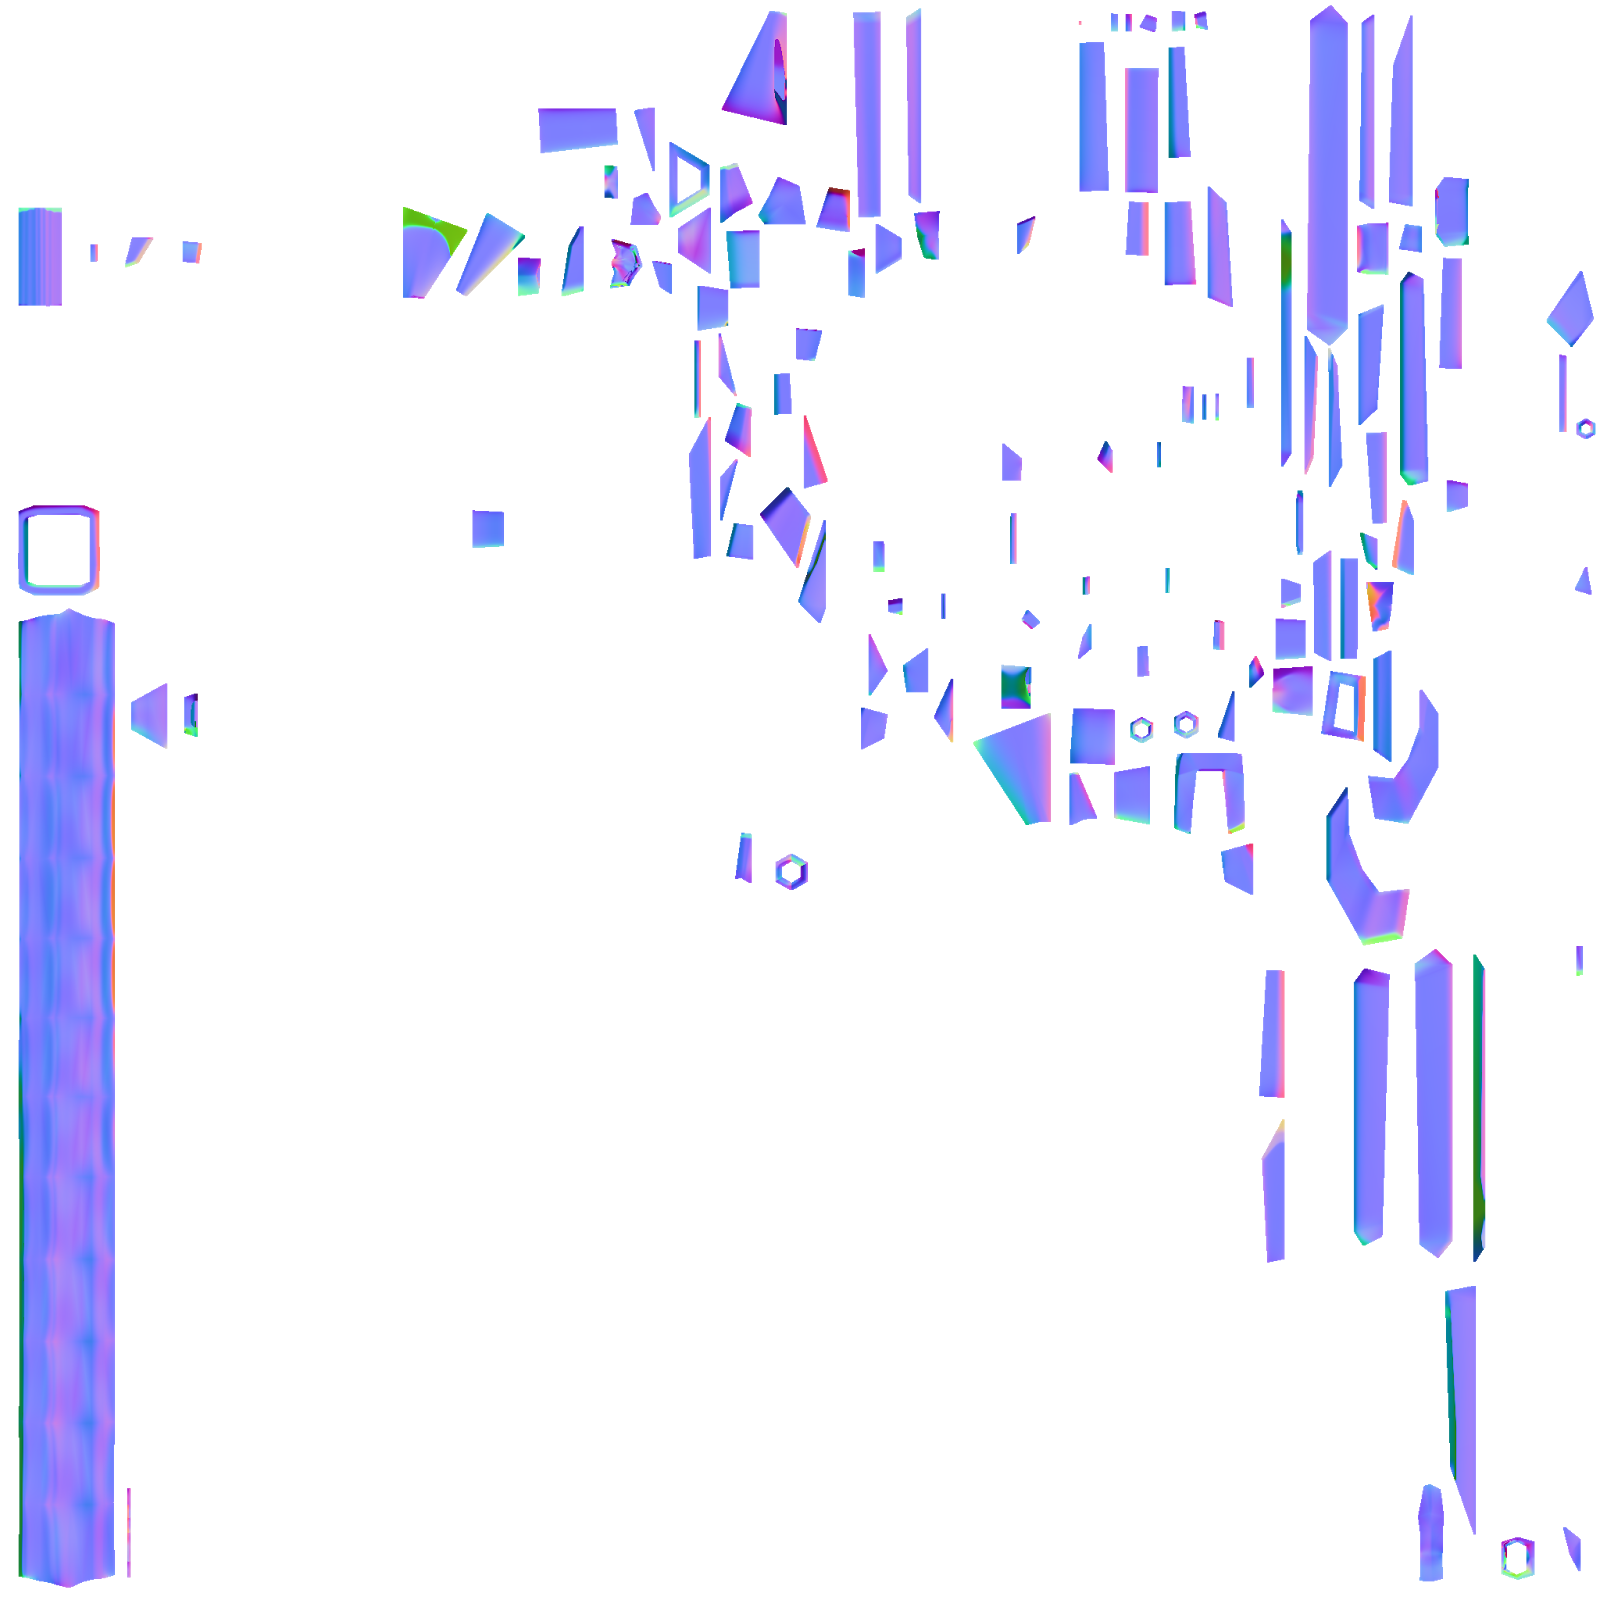
The time machine in it's UV mapping stage and it's normal bakes. Planer map was used a lot in my UV mapping process as I wish for harder edges in my model. My time machine now only has three pieces, the base platform, stage and leg with ring this is now because of issues that I have had.


Time machine in checker, (Below what time machine is now without 2nd leg through issues)


Base platform normal map and occlusion map


Leg and Ring piece  Normal Map and occlusion map.


Stage piece Normal map and occlusion map. 


The UV's lay out.

Sunday, 10 April 2016

Creation of my Time machine - Beginning


During the Easter break I started to create my time machine, I used Maya. I decided to theme it on a sci fi style platform. The images below are the stages of it's development.


The first stage of the base, I decided to go a little more adventurous to this design later on.


The base piece which you would stand on to get transported into past or future.

 The leg piece

 The two leg pieces with the platform base, but I felt it was missing something.

  I added a ring to one of the legs, this would work as a scanner when you stand on the platform base and the little spike detail near the top would sap you into the past or future depending of what you choose.
 The Computer that you would use to place the information of your destination.

The final look of my model, some things may still change, this is my low poly, the high poly I will add more divisions.

Sunday, 27 March 2016

Time machine Iterations


Here are some quick sketches of what my time machine could look like, only a few a I have as pretty solid Idea of what I would like which the drawings below will show.


 Design 2, Is the one that I do like the most, I like the idea of a hard edge model. The base with a PC attached would be a nice touch.

The drawing on the left is my most favourite design, I like the idea of it being on a stage like platform of some sorts. The added ring that is connected to the leg could be a type of scanner that lowers down when a character has stepped on the base and then transports you to the past or future. The PC is were a character can place the information of were they would like to go. I want it to be sci-fi themed as I haven't modelled anything in this theme before and thought it would be different to do, and it links to the project well because when I think of a time machine I think of advanced technology that you see in films it's quite traditional. 

Friday, 25 March 2016

Time machine reference images.


I have found some images that have given me a few ideas for my next 3D model project the time machine. I like the idea of a sci fi platform.

(https://i.ytimg.com/vi/jVLvoFlKPtQ/maxresdefault.jpg)

(http://img12.deviantart.net/832f/i/2013/317/3/5/main_lab_area_by_blueroguevyse-d6u57gg.jpg)

(https://www.asme.org/getmedia/ad9f3889-c243-4527-ad45-054c809b7eda/time_machine.jpg.aspx)

Tuesday, 15 March 2016

My pillar in Unreal engine 4


When the pillar was finally finalised in Maya and baked in X normal I then had to place the pillar in unreal engine 4. It took awhile to get to this point as I had made an error of scaling my model when imported back from z brush causing problems but with help I finally got my pillar into unreal engine.


This is the low poly model of the pillar in unreal engine without the normal map on.


My pillar with the normal map selected. There is one problem I noticed when placing this into unreal engine is that the pillar base at the bottom is lacking detail on the front side, I'm not too sure why this has happen, but I'm glad that it is in unreal engine, and overall the detail in the pillar is quite effective I'm just disappointed in the curvature of the shape, I was hoping for a sharper shape like my base model.

Monday, 14 March 2016

Broken Pillar model creation stage.

My Pillar had to be first created in Maya only starting from a basic base model, I chose to go with a simple shape that could easily be recognised as a pillar. I wanted the pillar to be well worn, to do this the best way to get these results would be importing the base model into z brush.  Below I'm going to show the stages of my pillar from the start nearing the UV stage.


This is my simple shape, the base model that would be imported into z brush. The base model was done fairly easily and didn't take to long, it consists of extruding from a cube shape and moulding it into a shape that I wanted, this was done at the bottom of the base. The block on top of the bottom base was created and then duplicated a few times. The top block was also moulded to a shape I wanted. I didn't want to make it to square in shape.


This is the pillar in high poly mode in Z brush, I found this piece very experimental I enjoyed creating it and I think the texture of a rock came out well, but maybe a little to much detail was added  to it. The brushes that I used were clay tubes and alpha brushes to give it the detail that it has. I did use a few more brushes as well.

I then had to decimate the pillar so it didn't have such a high poly count I had to lower the poly's to 10k or under, I believe mine came around 7k. I was disappointed with the outcome of my pillar when it was decimated as I found it lost a lot of it's shape. A clear example of this is the top of the pillar it now has curved edges.


I then imported my pillar into Maya once again and then used the quad draw tool to make a low poly of the pillar. The low poly model was then UV mapped.


This is the normal map from my pillar which was baked using X normal.

Monday, 22 February 2016

My pillar drawing designs.

Here are some pillar drawing designs, I went with the rock design as I liked the look of the structure as is it more of a basic design but it has it's purpose and strength. I like design 4 the best as it's simple but I can put more detail into it. My rock pillar is designed to be old and worn well throughout it's years.


Sunday, 31 January 2016

Vintage telephone

This is my final model of my vintage telephone, This was the 3rd project that we had to do, our first project was the lamp and the second project was the barrel that was textured. The Vintage telephone was modelled in Maya, this model was not UV mapped and then textured, it was not needed. This was the first model that I have modelled with such detail.

This was the reference image that the model had to be replicated from.


The first part of the model that I started to create was the base, For the most part of the model I made the pieces were separate then I combined the segments together when fully modelled and detailed.


This is the dial piece, I found this piece to be one of the most difficult of the model. Connecting the dial holes to the main dial body was fairly difficult at the start because I wanted to get the best typology that I could this lead me to create the dial more than once. In the end I finally got the dial to a structure that I was happy with, It could be a little neater but when the model was in object mode it looked correct compared to others. The dial that I created before the polys were stretched slightly giving the dial a messy look.


 (Front grid view)


 (Back grid view)


(Left side grid view)


(Right side grid view)

I'm happy with this model and I believe now that I have a little more experience with modelling in Maya I believe I will be a bit more quicker with modelling in the future. There are some small changes that could be applied to my model, one being scale size to the head set of the piece but other than that I'm happy with the outcome of my model and it's appearance.